What is a PCB Board?
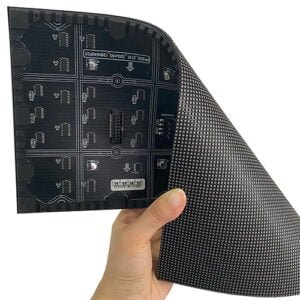
A Printed Circuit Board (PCB) is a fundamental component in modern electronics, serving as the backbone for electronic devices. A PCB board mechanically supports and electrically connects electronic components using conductive pathways, tracks, or signal traces etched from copper sheets laminated onto a non-conductive substrate. PCBs can be single-sided, double-sided, or multi-layered, depending on the complexity and requirements of the electronic circuit.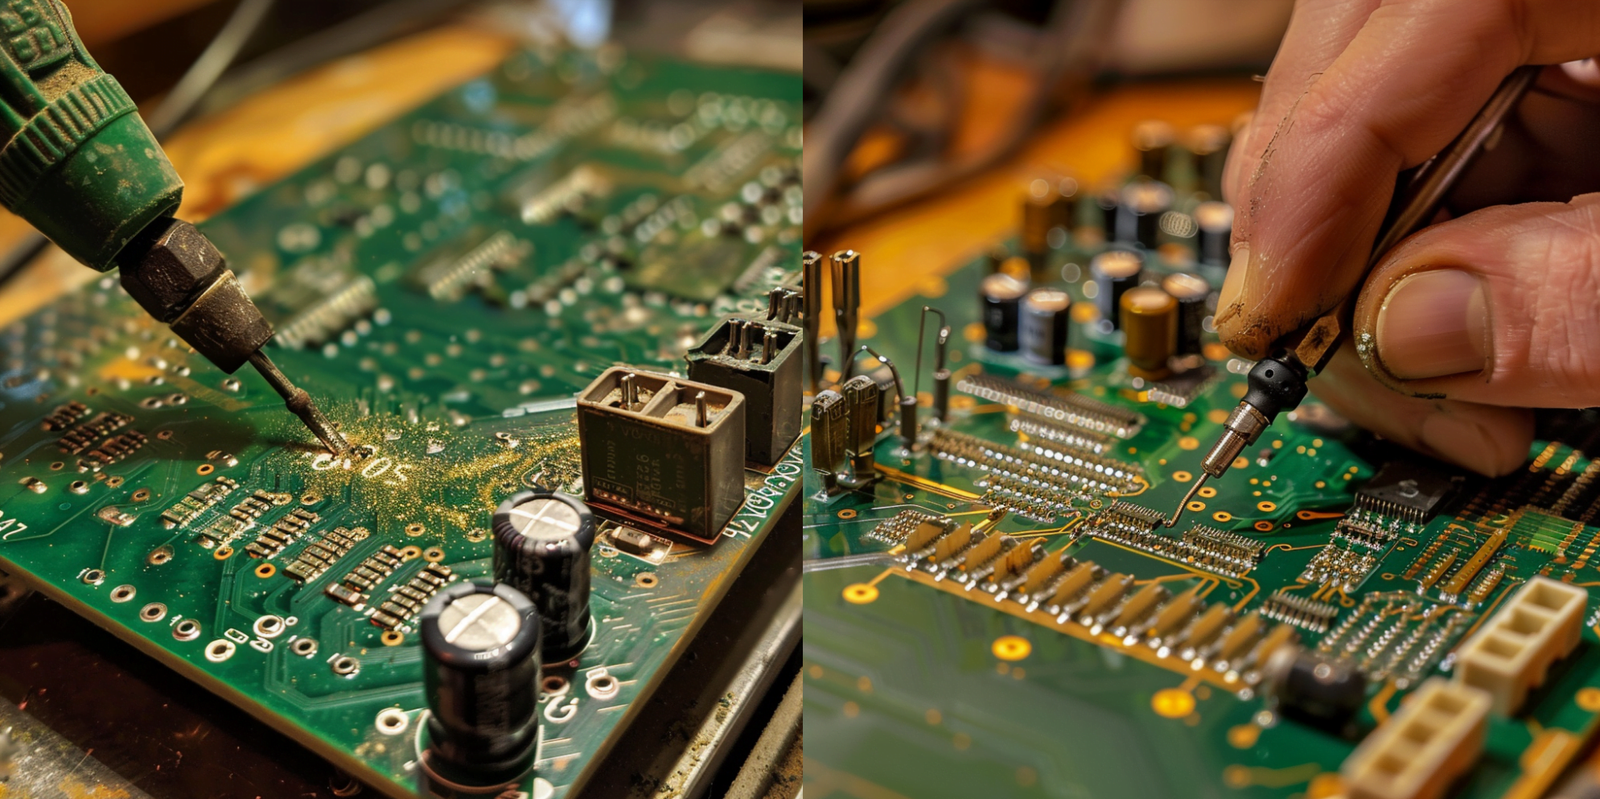
How to Solder a PCB Circuit Board?
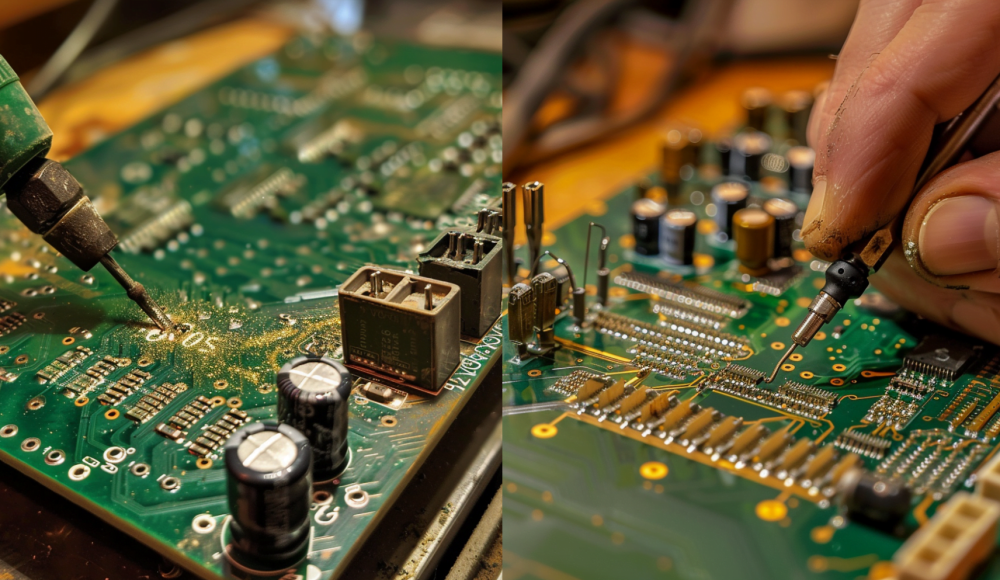
Soldering is a crucial skill in assembling a PCB. Proper soldering ensures reliable electrical connections and a durable PCB assembly. Here’s a step-by-step guide on how to solder a PCB circuit board:
- Gather Materials: Ensure you have a soldering iron, solder wire, flux, a PCB, and the components you need to attach.
- Prepare the Soldering Iron: Heat the soldering iron to the recommended temperature, usually around 350°C (662°F).
- Apply Flux: Apply flux to the solder pads on the PCB to help the solder flow and adhere properly.
- Place the Components: Insert the component leads into the corresponding holes on the PCB.
- Solder the Joints: Touch the soldering iron to the joint between the component lead and the pad, then apply solder wire to the heated joint. Remove the soldering iron once the solder flows and covers the joint.
- Inspect the Solder Joints: Ensure each joint is smooth and shiny. Reheat and apply more solder if necessary to fix any cold or insufficient solder joints.
- Clean the PCB: Use prophylaxis alcohol to clean any remaining flux residue from the board.
How to Prepare a PCB Board?
- Preparing a PCB board involves several steps to ensure it is ready for assembly:
- Design the Circuit: Use PCB design software like Eagle, KiCad, or Altium Designer to create a schematic and layout for your circuit.
- Generate Gerber Files: Once the design is complete, generate Gerber files, which are standard files used by PCB manufacturers to create the physical board.
- Select a PCB Manufacturer: Choose a PCB manufacturing service based on your requirements, such as board size, number of layers, and turnaround time.
- Submit the Design: Send your Gerber files to the manufacturer and specify any additional requirements, such as board thickness, copper weight, and surface finish.
- Order Components: Gather all necessary components for your PCB assembly, ensuring you have the correct specifications and quantities.
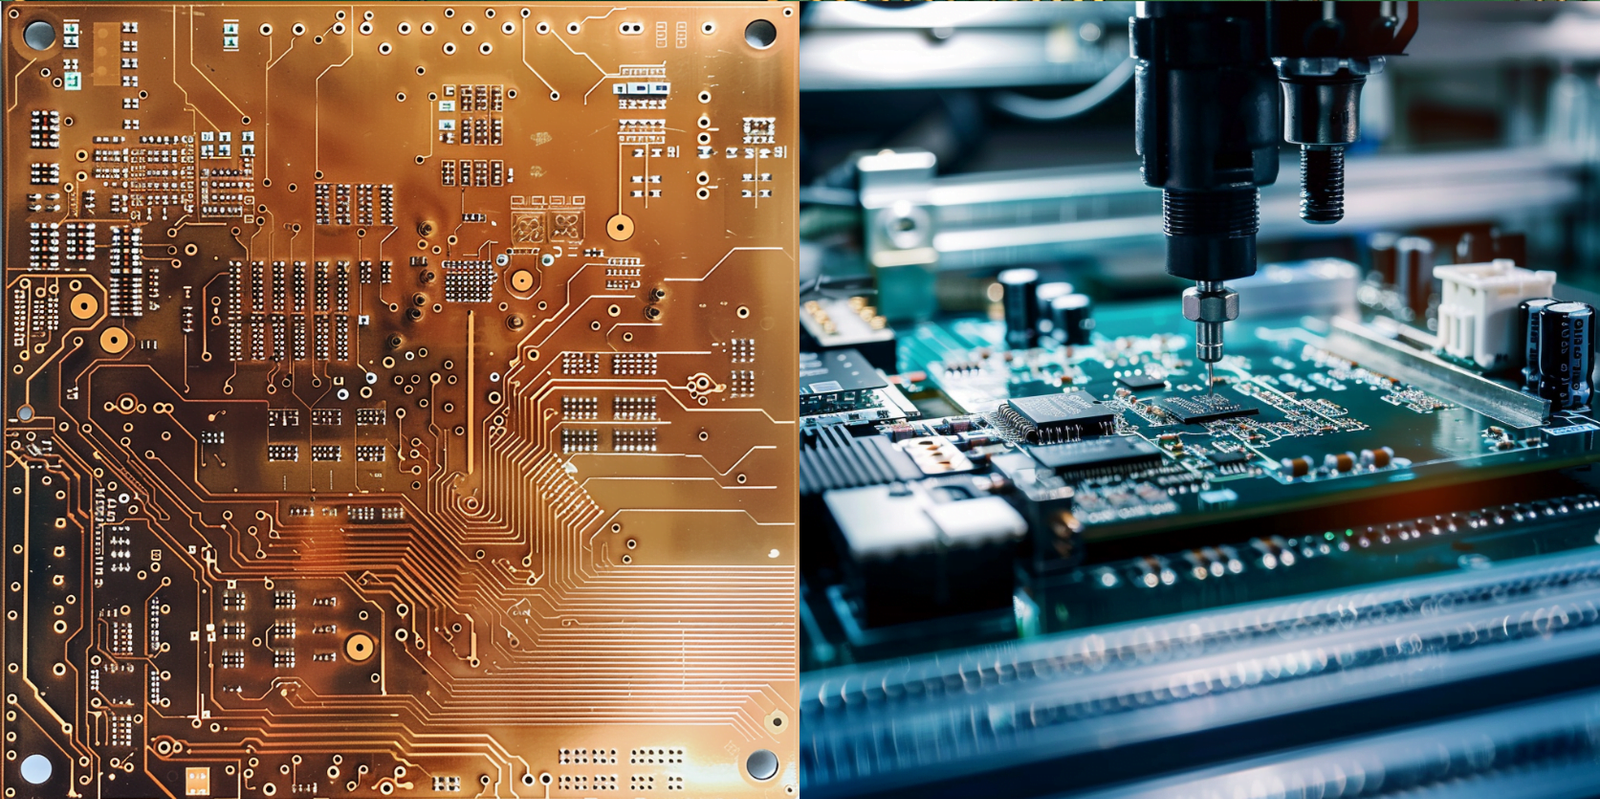 How to Create a PCB Board?
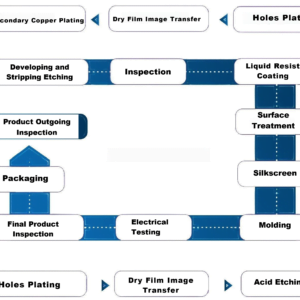
Creating a PCB board from scratch involves both design and manufacturing processes. Here’s a simplified overview of how to create a PCB board:
- Design the Schematic: Use PCB design software to create a schematic diagram of your circuit.
- Layout the PCB: Convert the schematic into a PCB layout, arranging components and routing traces on the board.
- Verify the Design: Perform a design rule check (DRC) to ensure there are no errors or issues in the layout.
- Generate Manufacturing Files: Export the design files, including Gerber files, drill files, and a bill of materials (BOM).
- Choose a Manufacturing Method: Decide whether to etch the board yourself using DIY methods or to use a professional PCB fabrication service.
- Fabricate the PCB: If using a fabrication service, submit your files and specifications. For DIY, print the design onto a transfer paper, transfer it to a copper-clad board, etch the copper, and drill the necessary holes.
- Assemble the PCB: Once the board is fabricated, solder the components in place as detailed in the soldering section.
Conclusion
Printed Circuit Boards (PCBs) are integral to the functioning of modern electronic devices. Understanding how to design, prepare, and solder a PCB is essential for anyone involved in electronics. Whether you are creating a PCB for a simple project or a complex machine, mastering these skills will enable you to make reliable and efficient electronic circuits. The assembly process requires precision and attention to detail, ensuring that each connection is robust and each component is properly placed for optimal performance.

